
Is your kitchen tap due for a transformation? Look no further than Plumbing Angels – your expert companion in the intricate process of changing a kitchen tap. We’ll navigate through every aspect, from choosing the ideal tap to the meticulous steps of installation. Get ready to immerse yourself in the world of kitchen upgrades.
Unveiling a Fresh Look: The Crucial Decision to Change Your Kitchen Tap
Your kitchen tap isn’t just a water dispenser; it’s a design statement that can redefine your kitchen’s aesthetic. If a fresh look is on your mind, understanding the nuances of changing your kitchen tap is paramount. Let’s embark on a comprehensive journey, exploring each step involved in transforming your kitchen.
1. Selecting the Ideal Kitchen Tap: Balancing Aesthetics and Functionality
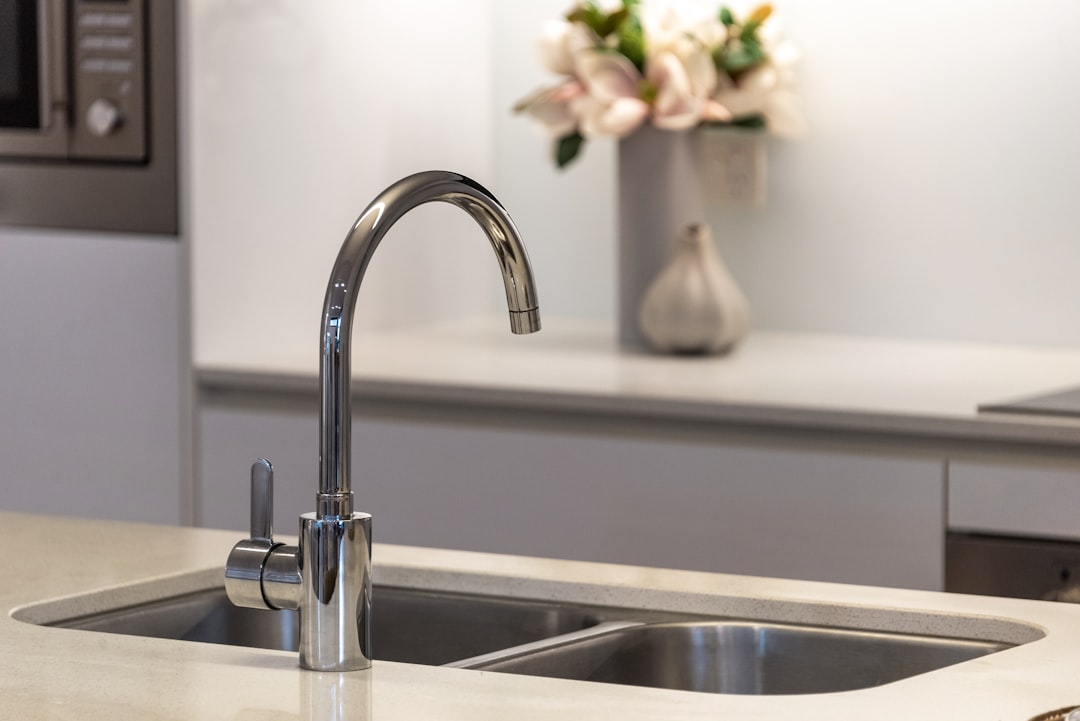
The journey commences with the crucial task of selecting the perfect kitchen tap. Whether you lean towards a contemporary mixer tap or a timeless design, it’s essential to consider the overall aesthetic appeal of your sink area. Let’s delve into the intricacies, ensuring your choice not only looks fantastic but functions flawlessly.
New Look, New Tap: Balancing Form and Function
Envision the desired new look for your kitchen, and let this guide inform your choice. Consider finishes, styles, and features that align with both aesthetics and practicality. Your chosen tap should seamlessly complement your kitchen’s design, bringing a fresh and stylish look to the heart of your home.
2. Saying Farewell to the Old: Step-by-Step Removal Process
Why Change a Kitchen Tap?
Before embracing the new, bid farewell to the old. The removal process is a critical step that demands careful attention. Let’s navigate through the process with precision, ensuring a smooth transition to your stylish new tap.
Step-by-Step Removal Guide: Ensuring a Seamless Transition
- Turn Off Your Water Supply: Locate the isolating valves under the sink and shut them off to avoid water spillage.
- Disconnect Pipes Under the Sink: Employ the right tool to disconnect water pipes, anticipating some water drainage.
- Unscrew the Retaining Nut: Use a box spanner to carefully loosen and unscrew the nut holding the tap in place.
3. Installing Your New Kitchen Tap: Crafting a Seamless Fit
With the old tap gracefully removed, it’s time to usher in the new. Achieving a secure fit is paramount for both functionality and aesthetics. Let’s explore the detailed steps to ensure your new tap not only looks fantastic but works flawlessly.
Ready to Fit: Ensuring a Secure Installation
- Position the New Tap: Align the new tap in the existing hole, ensuring it sits flush against the sink surface.
- Connect Hoses into the Tap: Attach the flexible hoses provided with the new tap to the corresponding water pipe connections. Use a spanner to tighten the nuts securely.
- Reconnect the Water Supply: Reverse the process of disconnecting water pipes, ensuring a tight fit. Turn on the isolator valves to restore water supply.
4. Adding Personal Touches: Customising Your Kitchen Space
With the new kitchen tap securely in place, it’s time to infuse your personality into the space. Explore ways to enhance the aesthetic appeal and functionality of your tap area with unique touches and accessories.
From Aesthetics to Functionality: Personalising Your Kitchen Tap Area
- Supplied with New Hoses: Enhance functionality by selecting taps supplied with new hoses for a reliable water supply.
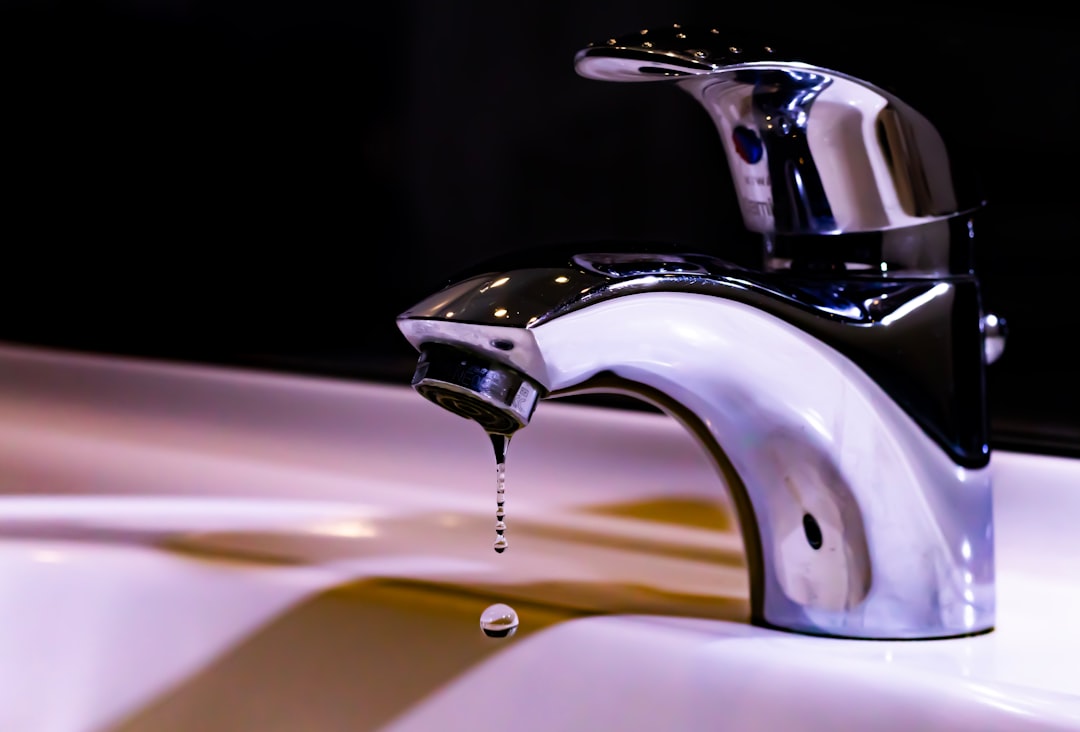
- Fix a Dripping Tap: Address any persistent dripping issues by replacing the washer, ensuring a smooth water flow.
- Types of Taps: Explore the variety of taps available, from contemporary bridge mixers to classic designs, to suit your kitchen’s style.

5. Troubleshooting Tips: Overcoming Common Challenges
No DIY project is without its challenges. Let’s explore troubleshooting tips for common issues you might encounter during the kitchen tap replacement process.
Overcoming Challenges: A Quick Guide
- Water May Splutter: If water splutters upon turning on the tap, check for debris and clean the aerator for smoother water flow.
- Pipes Are Disconnected: Ensure all pipes are securely reconnected, preventing any leaks that may occur with loose connections.
- Ready to Fit: Confirm that all components are in place and securely fitted, ready to withstand regular usage.
Key Takeaways: Mastering the Art of Changing Your Kitchen Tap
- Select a tap with care: Balance aesthetics and functionality for a harmonious fit.
- Navigate the removal process: Follow a systematic guide for a smooth transition from old to new.
- Ensure a secure fit: Position the new tap, connect hoses, and tighten connections for leak-free functionality.
- Personalise with flair: Add accessories and finishes to make your new tap uniquely yours.
- Troubleshoot with confidence: Address common issues for a seamless kitchen tap replacement.
Embark on the journey of changing your kitchen tap with Plumbing Angels, your expert guide to a revitalised kitchen space. Happy plumbing, and may your kitchen be transformed with a stylish and efficient new tap!
If you do need assistance feel free to contact us.