
How to Change a 3-Port Valve: A Guide by Plumbing Angels
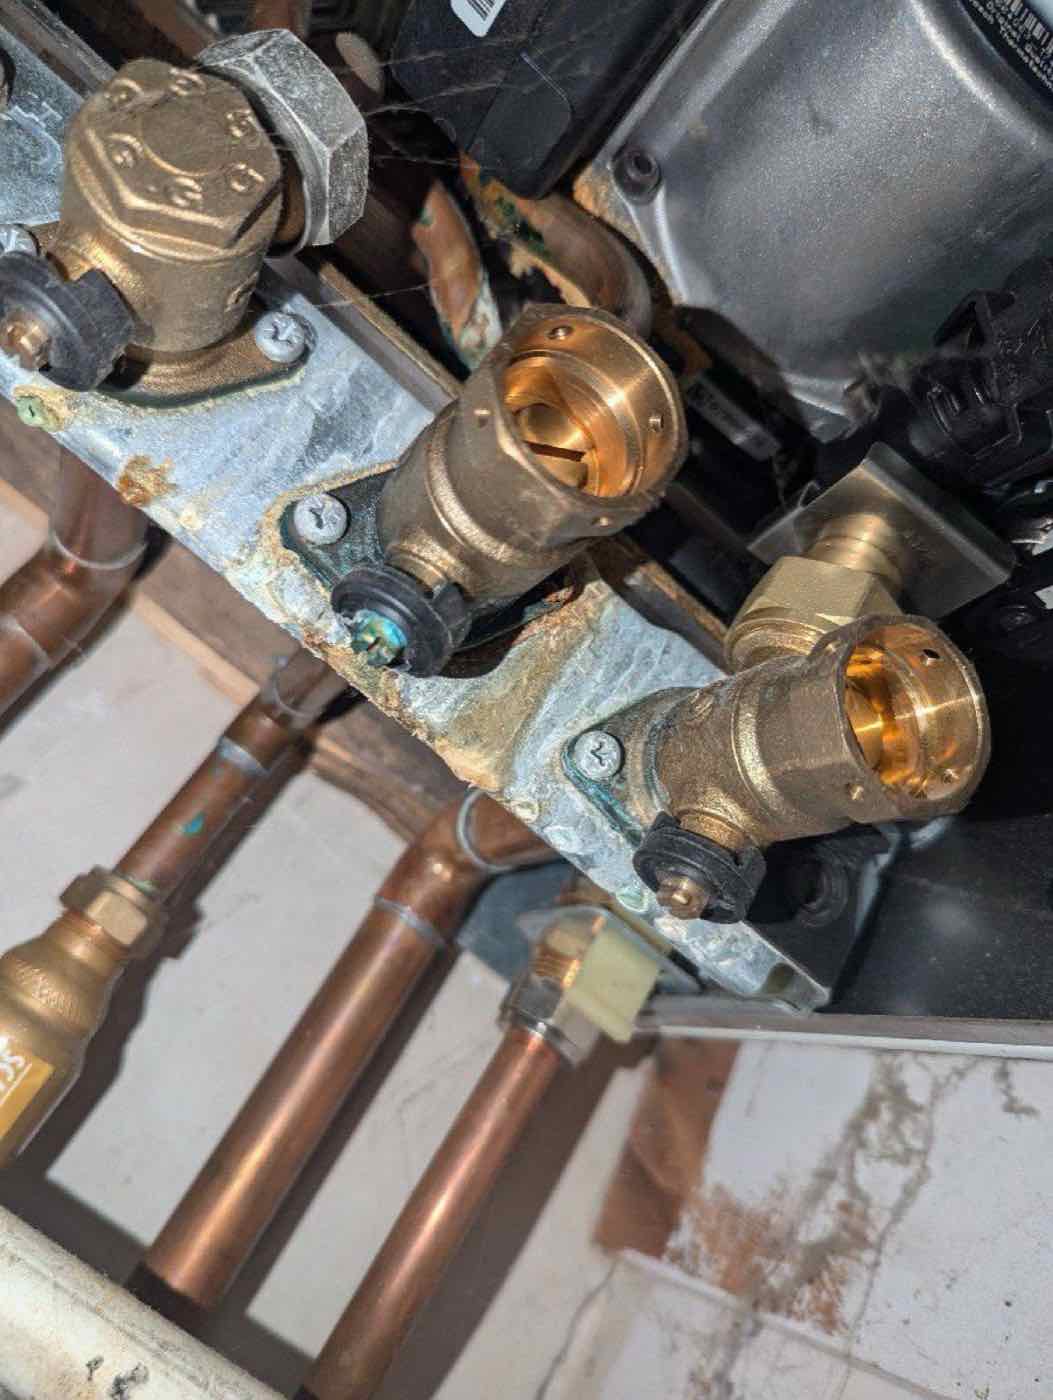
Before we get started, let’s first discuss what a 3-port valve is and why it’s important. A 3-port valve is a component of a heating system that controls the flow of water to different areas of your home. It helps to regulate the temperature in each room by directing hot water to radiators and underfloor heating systems.
Now, let’s move on to the how-to portion of this article. If you’re experiencing issues with your heating system, such as uneven heating or no heating at all, it may be time to replace your 3-port valve. Here are the steps you’ll need to follow:

Step 1: Turn Off the Power Supply
Turn off the power supply to your heating system. This is important for safety reasons and to prevent any damage to the valve or heating system.
Step 2: Locate the 3-Port Valve
It It’s usually found near the boiler or in a airing cupboard. You’ll want to take a picture of the wiring before removing any wires to help you remember where everything goes when you put it back together.
Step 3: Remove the Wires
Remove the wires from the valve. You can do this using a screwdriver or pliers, depending on the type of connector.
Step 4: Unscrew the Valve From the Pipework
You will need to drain down the affected part of the system first. You may need a wrench or pliers to do this.
Step 5: Fit the New Valve
Replace the valve with a new one. Make sure to use the same model or one that is compatible with your heating system.
Step 6: Reconnect the Wiring
Reconnect the wiring to the new valve, making sure to match the wires to the correct terminals.
Step 7: Test It
Turn the power back on to your heating system and test the valve to make sure it’s working properly.
Congratulations, you’ve successfully changed your 3-port valve!
How to Tell It Really Is the Valve
Before changing anything, it is worth confirming the diagnosis, because the symptoms of a failed 3-port valve overlap with several other faults.
Classic signs of a failing mid-position valve:
- Hot water when you have only asked for heating, or the other way round — the valve is not moving fully to the position it has been told to.
- A buzzing or humming from the airing cupboard, which is the actuator motor straining against a seized spindle.
- Radiators warming up when only the cylinder should be heating.
- The valve head getting hot to the touch.
A useful check: pull the actuator head off the valve body — it usually unclips — and try turning the spindle underneath by hand. If the spindle is seized, the valve body has failed. If the spindle turns freely but the system still misbehaves, the problem is more likely the actuator motor or the wiring, and sometimes only the head needs replacing rather than the whole valve.
Before You Start
Two things people forget, both of which turn a two-hour job into an evening:
You will have to drain down. The valve is in the pipework, so that part of the system has to be emptied first, and refilled and re-vented afterwards. Have a hose and somewhere to run it.
Photograph the wiring. Not just once — take several, from different angles, and label the wires with masking tape before disconnecting anything. Getting a 3-port valve wired back incorrectly can leave you with heating you cannot control, and on some systems it is not harmless.
When to Call Us Instead
If you’re experiencing issues with your heating system, a faulty 3-port valve may be to blame. By following these simple steps, you can replace the valve yourself and save money on costly repairs. However, if you’re not comfortable doing it yourself, don’t hesitate to contact Plumbing Angels for professional help. We’re always here to assist with all your plumbing and heating needs!
Need a hand from a real engineer?
Our Gas Safe team covers the whole of Kent — free fixed quotes on new boilers, clear rates on repairs and servicing.
Call 01732 792 454